
How to Build a No-Dig Raised Bed in a Small Garden
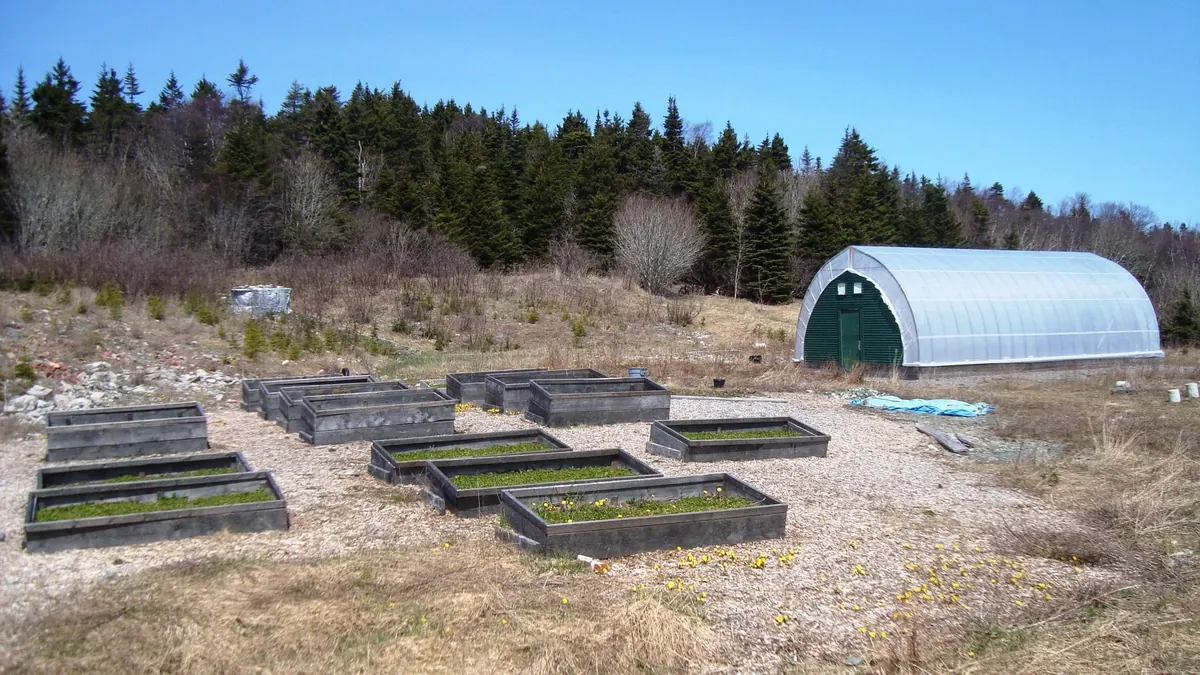
A raised bed does not have to be big to earn its place. A single square metre of decent compost will give you salad for months, a crop of chard, a handful of herbs and a couple of tomato plants, and it will do it on a patio, in a courtyard or on a strip of lawn you never use. No-dig growing suits small gardens especially well. You are not double-digging or fighting the soil you already have — you are laying good growing material on top and letting worms, roots and time do the rest. Here is how to plan, build, fill and plant one properly.
Why no-dig works in a tight space
Every time you turn a spadeful of soil you bring buried weed seed to the surface, where light and air wake it up. You also slice through the fungal threads and worm tunnels that make soil work in the first place. In a small garden, where every centimetre counts, that is a poor trade.
No-dig keeps the weed seed bank buried under a light-blocking layer, keeps the soil structure intact and leaves moisture where roots can reach it. Soil under a no-dig bed stays cooler and damper through summer, which matters more than you might expect in a sheltered courtyard that bakes by mid-afternoon. The practical result is less watering, far less weeding, and a bed you actually enjoy tending rather than one you avoid.
Choose the site before you buy anything
Watch your garden for a day before committing to a spot. Fruiting crops — tomatoes, courgettes, beans, peppers — want six hours of direct sun or more. Salad leaves, chard, parsley and mint will manage on four hours and will even thank you for a little afternoon shade in a hot summer.
Put the bed somewhere you can reach at least two sides. A bed tucked against a wall is fine, but you will be leaning over it constantly, so keep it narrow. Leave a path of 60cm or so if you have the room; watering cans and trugs need somewhere to go. Avoid the strip under a thirsty tree or hedge, and avoid the low point of the garden where water stands after heavy rain. If you are placing the bed on hard standing, check you are not covering a drain, and keep the frame clear of fences so you can still paint or repair them. Site it near a tap or somewhere a hose will reach.
Build the frame
A frame is optional. A mound of compost on cardboard works perfectly well and costs nothing, but a frame keeps the material in place, holds moisture, lifts the growing area above a wet winter and looks tidy — which counts for a lot when you are looking at it from the kitchen window.
Use untreated timber, or new sleepers from a reputable supplier. Avoid old railway sleepers and any timber you cannot identify, as some treatments are not suitable for beds growing food. Roughly 15–25cm of height is plenty for most crops; carrots and parsnips want more depth, so aim for 30cm if you have space.
- Mark the outline with string or sand. Keep the width to 1.2m maximum so you can reach the middle from either side without stepping on the bed.
- Cut four boards to length. Butt the corners and fix them with exterior screws or galvanised brackets.
- Position the frame and check it is level — a spirit level across the diagonals is quick and reliable.
- Loosen the ground only where the frame sits, if it is uneven, so the boards do not rock.
- Line the base with overlapping cardboard, 15cm or more of overlap at every join, then soak it thoroughly.
- Water the cardboard again the next morning. If it has lifted, weight the corners with bricks or a few spadefuls of compost.
Fill it without turning a single sod
The cardboard smothers whatever is underneath — lawn, weeds, gravel-bound soil — and the worms gradually drag it down and convert it into dark, crumbly stuff. You never dig any of this in.
A simple filling recipe
- Base: soaked cardboard, plus a thin layer of garden compost or well-rotted manure if you have it.
- Middle: the bulk of the bed — sieved topsoil mixed with compost, or bagged peat-free multipurpose if you are starting from nothing.
- Top: 5–8cm of mature compost or leaf mould, which is where your seeds and seedlings will go.
Aim for a settled depth of 25–30cm. Fill to just below the rim so there is a lip to hold water, and expect the level to drop by a few centimetres over the first season as everything settles. Never use fresh manure; it burns roots. Rotted, crumbly and smelling of woodland floor is what you want.
Planting it up without overcrowding
Resist the urge to fill every centimetre. Crowded plants compete for light, water and nutrients, and in a confined bed the results are leggy, mildewed and disappointing. Space according to the seed packet and trust it.
A good first season mix for a single square metre: a row of cut-and-come-again salad along the front edge, a chard or kale plant in one corner, a compact herb such as parsley or basil, and one tomato at the back against the sunniest side. Sow salad every three weeks rather than all at once, and you will cut leaves from spring into autumn instead of facing a fortnight of glut followed by nothing.
Tall crops belong on the north or shaded side so they do not cast shadow over lower growers. Put a few nasturtiums or marigolds at the edges if you like — they draw aphids away from your greens and look cheerful.
Watering, feeding and topping up
Water deeply and less often rather than little and often. A quick splash only wets the surface, encouraging shallow roots that suffer the moment you miss a day. Push a finger in to the second knuckle: if it is dry there, water properly.
Mulch the surface with 5cm of compost or straw once plants are established. It cuts evaporation dramatically in a small, sun-trap bed. Feed tomatoes, peppers and courgettes every week or two once flowers set, using a potassium-rich feed. Leafy crops rarely need anything extra if the bed was filled well.
Each autumn, spread 5cm of compost over the surface and let the worms take it down. No digging, no fork, no fuss — the bed improves year on year while you do less.
Start small and keep it going
One well-filled bed beats four neglected ones. Build it, plant it, and spend the first season watching how water, sun and weeds behave in your particular corner. Next year you will know exactly what to change. A no-dig bed rewards patience rather than effort, and in a small garden that is the best kind of bargain there is.
Photo: Jason Youngman / Pexels